In the realm of YouTube content creation, getting noticed and grabbing the attention of the audience is the most important thing. With millions of videos being uploaded daily, creators require robust yet easy-to-use tools to make their content compelling, high-quality, and distinctive.
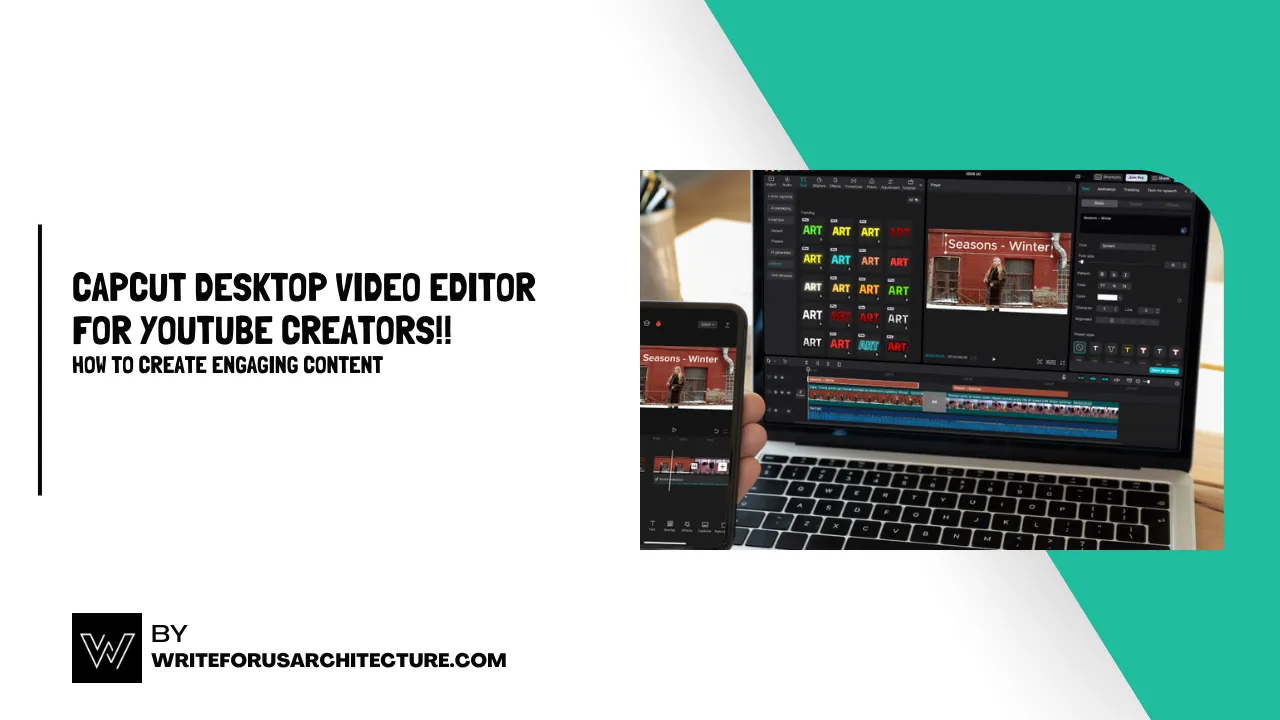
CapCut Desktop Video Editor has become one of the most popular go-to video editors among YouTubers because of its ease of use, flexibility, and ample features that make it a breeze to work with. Whether you’re a beginner or a seasoned YouTube creator, CapCut Desktop Video Editor provides you with the tools to produce videos that capture the audience’s attention.
In this article, we’ll explore how YouTube creators can use CapCut Desktop Video Editor to elevate their video production, from editing basics to advanced features.
What is CapCut Desktop Video Editor?
CapCut, which started as a mobile app, has also made its way to the desktop version. It is a professional video editor for PC, with greater flexibility and control for editors. It’s made to be used by beginners and advanced users alike, with a user-friendly interface that does not compromise on functionality.
CapCut Desktop Video Editor is perfect for YouTubers who want to simplify their workflow, create professional-grade content, and connect with viewers through well-polished videos.
Key Features Of Capcut Desktop Video Editor
- Multi-layer timeline editing
- A range of effects, transitions, and filters
- Audio editing features for background music, voiceovers, and sound effects
- 4K video editing support
- Simple export options optimized for YouTube
Now that we have the basics out of the way, let’s talk about how CapCut Desktop can assist you as a YouTube creator.
1. Begin with High-Quality Footage
The foundation of any great YouTube video is high-quality footage. Whether you’re shooting with a DSLR, smartphone, or even a webcam, it’s essential to start with good video quality. However, even the best footage needs some editing to make it stand out.
CapCut enables you to directly import video clips from your computer. You can drag and drop videos onto the timeline, where you will start trimming, splitting, and organizing your clips.

2. Trim, Split, and Arrange Clips Quickly
Trimming and splitting video clips are made very easy by CapCut. To begin, choose the clip on the timeline, and adjust the edges by dragging them to trim the clip to your preferred length.
If you want to cut a clip into segments, you can just use the Split tool. This function allows you to cut out unwanted parts of the video, such as long pauses, errors, or irrelevant material.

3. Add Pizazz to Your Video with Transitions and Effects
When you have your clip organized, you can put a little finish. Transitions and effects serve the purpose of maintaining visual appeal within your video. CapCut includes an assortment of transitions within, ranging from neat fades to sophisticated wipes, which can create that fluid transition look.
In addition, you can implement visual effects as a means of accentuating parts of the video, if you need a retro touch, want to add a glitching effect, or wish to do something special.

4. Add Text and Titles to Emphasize Important Messages
Text and titles are great for communicating information to your audience. Whether you’re adding captions, call-to-action text, or a title screen, CapCut makes it simple to add text to your video.

5. Add Background Music, Voiceovers, and Sound Effects
Great audio is just as important as great visuals. CapCut Desktop Video Editor provides powerful audio editing tools that allow you to enhance the sound quality of your YouTube videos. You can import your background music, sound effects, and voiceovers with ease.

6. Add Visual Enhancements with Filters and Color Correction
CapCut AI Video Maker has a lot of filters and color correction features that you can use to make your video look better visually. You can use filters that change the overall aesthetic of your video, such as making it look old-school or film-like. CapCut’s color correction features also enable you to adjust brightness, contrast, saturation, and other settings to make the colors look stunning.
To use a filter, drag it onto your video clip in the timeline. You can also control the strength of the filter to achieve the effect you want. If you have more control in mind, utilize CapCut’s advanced color grading features to personalize individual color channels.

7. Export and Upload to YouTube
When your video is completely edited, it’s time to export. CapCut simplifies exporting with options tailored for YouTube. You can choose the resolution and format you need. CapCut even lets you upload directly to YouTube, saving you time.

8. AI Videos For YouTube Automation
For YouTube creators, CapCut creates stunning AI videos as they would like for their automation channels by simply using their prompts, and can also generate their captions as well by using its very own AI Caption Generator.
Conclusion
CapCut Desktop Video Editor is a great addition for YouTube creators who aim to produce entertaining and professional content. Whether you are editing your new vlog, tutorial, music video, or short film, CapCut’s user-friendly features, such as video trimming, transitions, text, and audio editing, enable you to create high-quality videos that grab your viewers’ attention. With the mastery of these features and experimenting with innovative ideas, you can bring your YouTube channel to a higher level and develop a devoted following. The most important thing is to keep on experimenting, learning, and, above all, enjoying oneself while creating.
Also Read: